Bonuses
Training
As soon as you log in, you will need to create a campaign in your account by clicking on the “Create Campaign” button on the dashboard:

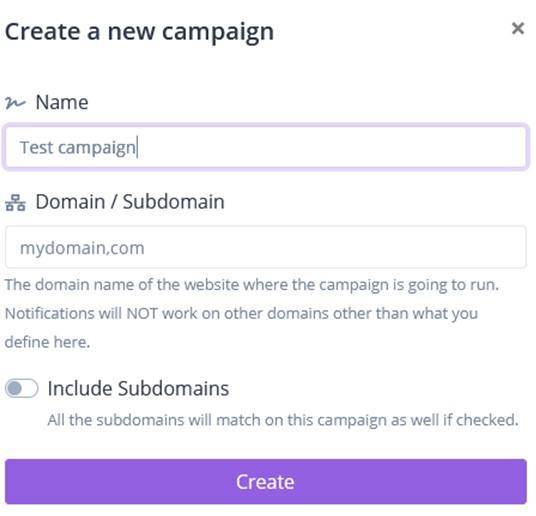
You will need to specify your campaign name and add your domain name on which your notifications will run. Please note, you just need to specify your domain name or sub domain, in case you are using a sub directory then you need to specify only the domain.
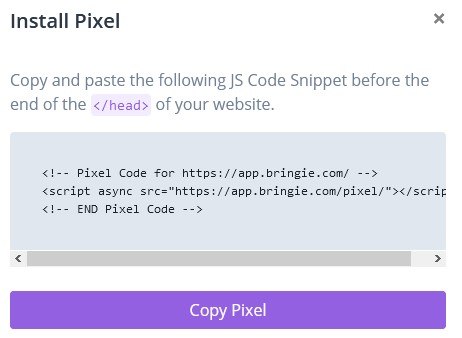
Copy the appearing embed code on your clipboard and add it to the head area of your website.
After adding your pixel code, you can click on your campaign in the dashboard and start adding notifications. You can click on the “Create notification” button after entering your campaign.
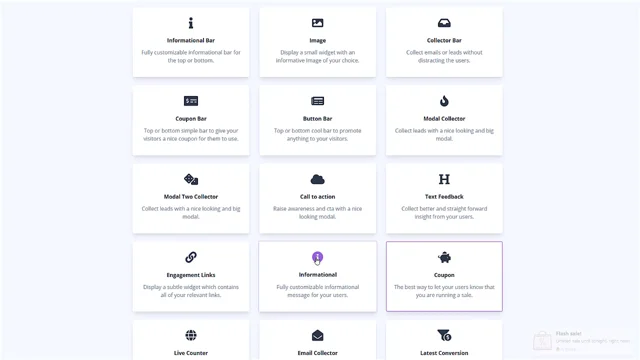
Add a title for your notification and select the desired notification type by clicking on the different campaign types and viewing the preview of them. Click on the “Create” button on the bottom of the website to create your notification. You will be taken straight to the notification editor window where you can specify he details of your notification.
- In the first section of the editor you can edit the different text snippets of your notification.
- In the second area you can edit the trigger types which define when and how your notification is shown.
- In the next section you can define where it is displayed, in which corner or side
- Next section is for the design settings, where you can define every color used in your notification
- And in the last page you can decide if you are capturing any data, if it is sent to any external source, or it is stored only internally.
In some type of notifications you need to capture data from external sources, for example the "Latest Conversion" campaign type, needs to be triggered from an external source. You will need to add your Webhook URL to the notification URL field of a payment processor for example. Using JVZoo for example, you can set it as IPn URL, same for PayPal.
By clicking on Update you save every aspect of your notification. Please not ethat you can edit everything anytime, without the need of replacing the embed code.
If you are using Wordpress, you can use a plugin like Insert Script In Headers And Footers:
https://wordpress.org/plugins/insert-script-in-headers-and-footers/
Webhooks
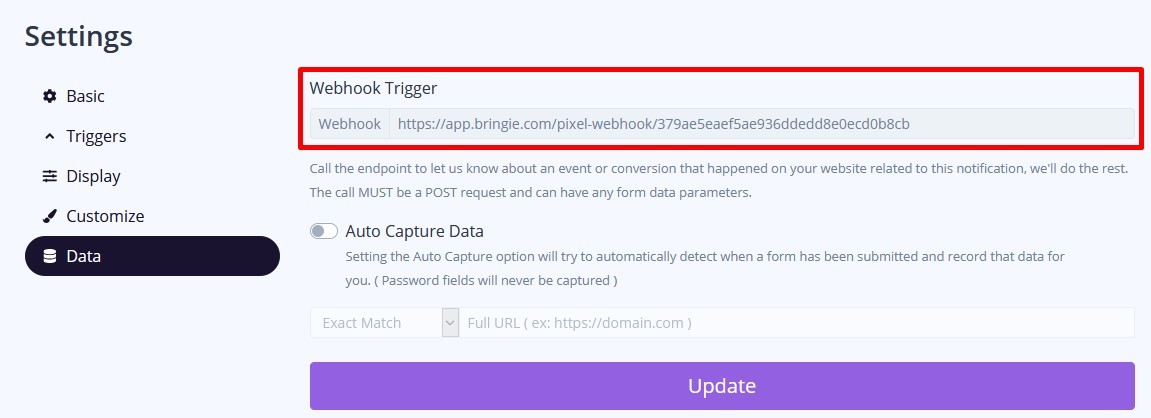
Some notification types have webhook URLs. These URL's are unique per campaign and they are used to collect data from external sources. For example, the "Latest Conversion" notification uses it to show the notification LIVE when a sell is happening. This Webhook URL must be called by your payment processor when the sale happens, so Bringie will know when to show the application. Most of the SaaS applications, payment processors, etc have this notification type, usually called as IPN url, or a Webhook in they own system to. Add this unique URL and it will be triggered by the external application.
Data capture
You can use Zapier.com or Make.com or your custom script to capture the data from your Bringie popups when the user has to enter data. The data is also stored in Bringie and you can export it anytime.
You can find additional details about Zapier here: Zapier help docs
You can find additional details about Make.com here: Make help docs
Here is a tutorial on setting up lead capture at Make.com
Customize branding

Every campaign has the option to edit the Bringie branding on the notifications per campaign. You will need to enter the campaign you have ceated for your domain (on the page you are creating new notifications for your campaign) and click the three dots besides your campaign name. You can clik on the "Custom Branding" to edit the branding to whatever you would like. This change is affecting every notification in the campaign.
Remove branding

You can turn of branding for every notification separately. Edit your notification and click click on the "Display" tab, then turn off the "Display Branding" switch as shown above.
If you have any questions then please let us know via our support desk at https://support.appsformarketers.com/
